27 Oct
Auditing a Google Tag Manager (GTM) container can be tough. Whether the container is managed internally or by a third party agency, ensuring that an implementation is set up correctly both functionally and structurally can be a tall order for any analyst.
This guide will equip analysts and marketers with the tools they need to ensure that their virtual ducks are in a row and enable them to audit any GTM container for proper tracking functionality as well as structural integrity and governance.
Introduction
GTM is an analytics tracking implementation tool that allows businesses to set up event based tracking on a website by adding the Tag Manager tracking code to pages of their website and/or mobile app. What this means is that by using Google Tag Manager a business can track user behavior in regards to any activity that the user acts on. This can include:
- viewing a page
- clicking a button
- viewing a specific image or text
- filling out a form
- scrolling down a page
- interacting with videos
Most businesses utilize tag managers like GTM to monitor actions that users take that align with their specific website goals, for example:
- clicking on and purchasing a product
- filling out a customer lead form
- engaging with social media content.
- attribute value to marketing advertisements
💡 Sounds simple right … WRONG.
Why Audit GTM?
While some may think that setting up GTM is a one-and-done affair … nothing could be farther from the truth. Afterall, business / marketing goals can change over time, new pages / experiences launch, new products / services roll out, and most notably — technology evolves.
That’s why it’s so important to regularly audit GTM to ensure tracking still functions properly, aligns with business goals, and adheres to data governance rules put in place by the organization.
We recommend auditing Google Tag Manager at least once per year (or as frequently as quarterely — depending on how often updates are made to a website/app!)
Navigating GTM
Once set up, every GTM instance has the same basic structure. The top of the page has navigation sections for Versions, Workspaces, and Admin.
- Admin is where user permissions are adjusted, code snippets to install GTM on a site can be found, and other administrative tasks can be completed.
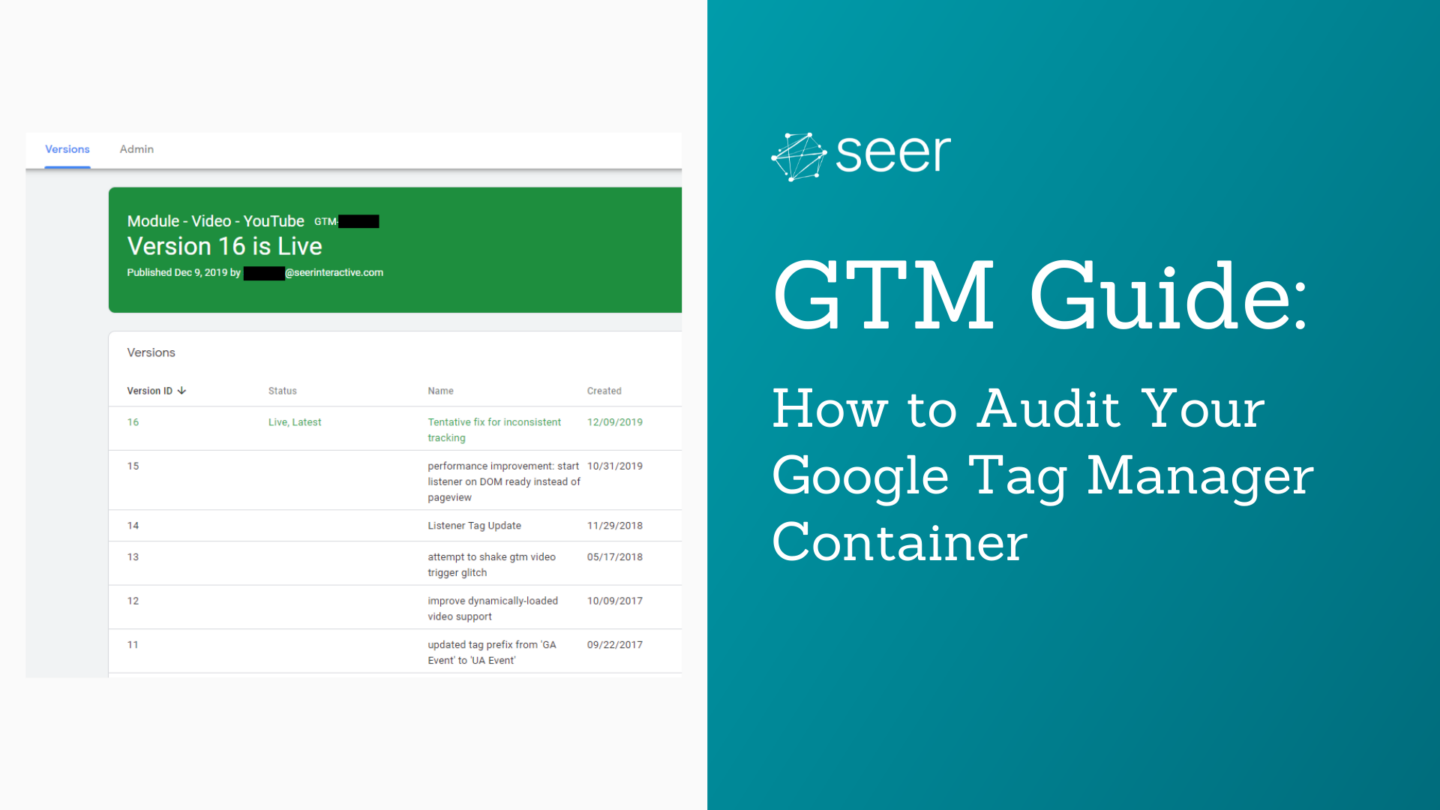
- Versions: Exactly as it sounds, a tab where users can view the latest version of GTM implemented as well as documentation on previous containers.
- Workspaces: The meat and potatoes of GTM. Workspaces include all live and/or in progress tracking implementations in a given container.

When auditing a GTM container, use the “Default Workspace” — this is where all tracking currently live on the site is contained.

The workspace tab has 6 main sections. These are the major areas of your GTM tracking setup and will be where you perform the majority of your audit. A summary of each section can be found below.
- Overview: Exactly what the label suggests, this tab provides an “overview” of the current workspace. With areas to set up a new tag, add a description to the workspace, view any changes and updates added or modified from the current live version of GTM on the site. Ensure that if this is the default workspace, all changes are either pushed live or abandoned before auditing.

- Tags: The tags section reviews all tags that have been setup to collect information about users on your website. It lists tags with information about the tags name, what type of tag it is, what triggers have been added to a specific tag, and when that tag was last edited.

- Triggers: The triggers section reviews all triggers that have been setup to fire a tag when a user performs an action. The section has information about a triggers name, what type of trigger it is (categorized by GTM), what filters have been applied to that trigger to have it fire on specific conditions, the number of tags that the trigger has been applied to, and when that trigger was last edited.

- Variables: This section lists all variables available to add to tags and triggers as information to collect or data points to use in filters. There are two types — Pre-Configured Variables and User-Defined Variables.
- User-Defined Variables are where the account user can set up custom HTML, Javascript, and Data Layer Event variables to collect information that may not be easily collectible with the Pre-Configured Variables. Note, we don’t recommend using User-Defined Variables for DataLayer pushes — this should be collected directly from the site as a custom event. This is because websites change frequently — making variables that push to a DataLayer more and more fragile over time.

Enabling all Pre-Configured Variables will make them automatically available for use in any tag. Since it doesn’t affect GTM container performance in any way — we recommend doing this to get the most value from GTM right out-of-the-box.
- Folders: The folders section is a great way to categorize tags, triggers, and variables into designated folders. This can be done any way a business chooses but most often has been done in the past to separate information into contributors responsible for implementing and maintaining certain tags.
- For example, if a business has multiple agencies working to add functional tags and marketing tags, these should be added to separate folders for organization and documentation. If tags, triggers, or variables do not have a designated folder they will show as unfiled.
- Templates: The templates section is where a user would see any template Tags or Variables that have been added to the GTM account.

There are several ways to audit a Google Tag Manager account. At the time of writing this, I have audited dozens of accounts for many different industries, trying many different approaches to the auditing process.
The SDR
No matter what setup you have for GTM — an organization should always have a Solution Design Reference (SDR).

The SDR is basically the blueprint of your analytics implementation. It holds the information about each tag, trigger, and variable that you set up with additional information regarding KPI alignment for each tag, naming conventions to enforce data governance, and testing URLs for auditing purposes.
- The template SDR depicted has 2 tabs, the Overview tab listing the high level information about a GTM setup like “Who is responsible for maintaining analytics?” and “What GTM Containers does our organization use?” The Design Reference tab is a tagging inventory with individual tags listed on each row. This does not mean that more tabs could not be added for a deeper audit. Additional tabs to include could be tabs for Trigger, and Variable details.
The SDR should be considered the “hit-by-a-bus” document. That means that should the person responsible for maintaining a company’s analytics implementation be “hit by a bus” then someone with no prior context should be able to use the SDR to continue maintaining the tracking that has been implemented thus far.
In my experience, this is the most common component that new clients are missing when they come to Seer for Analytics support.
Debugger Tool
In Google Tag Manager there are several tools that can be used to audit whether a tag has been set up properly.
The primary tool that should be used is the Tag Manager Debugger. This tool effectively allows a user to preview their tagging additions and changes before adding said changes to their live environment on the website.
💡 Watch the video below for a demo:

Using the Tag Manager Debugger and a well-organized Solution Design Reference, one should be able to accurately identify areas to resolve and update in a typical audit with ease.
Naming Conventions
Naming conventions are an important part of auditing any container. This topic deserves its own section because it is often overlooked when discussing Google Tag Manager audits and general management practices.
What is important to remember when setting up and maintaining a tag manager account is transferability. Just because you set up a tag named “Landing Page Conversion” does not mean that your coworkers, agency partners, or superiors are going to understand what that tag is actually tracking.
Establishing solid naming conventions for tags, triggers, and variables as well as Account, Container, and Workspace naming conventions will help other people in your organization understand what each and every tracking component is used for. Some examples of naming conventions:
- Tag Naming Convention: Tag Type | User Action | Action Location
- Example: “Google Ads | Form Submit | Lead Form 1”
- Trigger Naming Convention: User Action | Action Location
- Example: “Form Submit | Lead Form 1”
- Variable Naming Convention: Variable Type | Variable Name
- Example: “DataLayer | Lead Form First Name”
The structure of the naming conventions that your organization lands on does not matter as much as all users responsible for managing GTM adhering to the conventions.
In Conclusion
Any website or mobile app with GTM installed should be audited regularly to maintain its validity. Changing technologies, updating website pages, and new business goals are all reasons that GTM tracking setups will change on a regular basis and because of this auditing will always be a process needed for good analysis capabilities.
Understanding the various areas within GTM and how to document a GTM setup using a Solution Design Reference then test tags, triggers, and variables using the GTM Debugger are all necessary skills to learn for a proper audit process. Using these skills one can be sure to drive real business impact for their organization through superior analytics.
If you want more information on Google Tag Manager and how Seer tackles Analytics, keep reading:
VIEW GTM POSTS VIEW ANALYTICS POSTS
Sign up for our newsletter below and subscribe to our channel on YouTube for more digital marketing tips:
Source: www.seerinteractive.com, originally published on 2021-10-27 18:03:13

![How to Successfully Use Social Media: A Small Business Guide for Beginners [Infographic]](https://b2webstudios.com/storage/2023/02/How-to-Successfully-Use-Social-Media-A-Small-Business-Guide-85x70.jpg)


![How to Successfully Use Social Media: A Small Business Guide for Beginners [Infographic]](https://b2webstudios.com/storage/2023/02/How-to-Successfully-Use-Social-Media-A-Small-Business-Guide-300x169.jpg)


Recent Comments